
Getting paid for all the hard work you do as a freelancer is a bitter-sweet process. You put blood, sweat, and tears into creating an end product your client will love. And in return, you get paid for your services.
But what happens when your clients don’t pay on time? This can hurt not only your business, but your livelihood as well.
In this case, you have to work overtime to get payments from your late customers.
Simply emailing a client a price for your services, isn’t enough. It’s better to send an invoice.
Not only is this professional, but it’s organized. If you’re freelancing for corporations, this will ensure invoices are sent to the right department.
No matter how large or small your client’s business is, an invoice will help with on-time payments.
So how to write an invoice for freelance work?
We’ll show you.
Designing Your Freelance Invoice
There are various software you can use to design your freelance invoice. This will speed up the process of getting your bills out quickly upon completing your work.
If this is your first time creating an invoice for your freelance business, then be sure to include the following elements.
The Header
The first thing your client will see when they view your invoice is the header. This is located at the top of the invoice.
In this area, you want to include your business name. Keep in mind your clients likely receive multiple invoices from different freelancers, so you need to make it clear who your invoice is from.
If you don’t have a business name, you can simply put your own name—whatever your client knows you by. In this case, put your first name, middle initial, and last name.
Your Business Logo
Hopefully, you took the time to design a business logo or hired a graphic designer to do it for you. Although you’re a freelancer, you’re still a business.
And a business without a logo is a major branding blooper. Avoid this by creating a logo and placing it at the top of your invoice.
The logo can be a symbol, the name of your business, your name, or initials. Logos look good to customers and will help them to remember and recognize your freelance business.
Include it in your business emails and it’ll help engrave your brand in the minds of prospects and customers.
Your Contact Details
You need to let your customers know who to contact and how to connect with you if needed to discuss the invoice. Your contact details should be in a visible location.
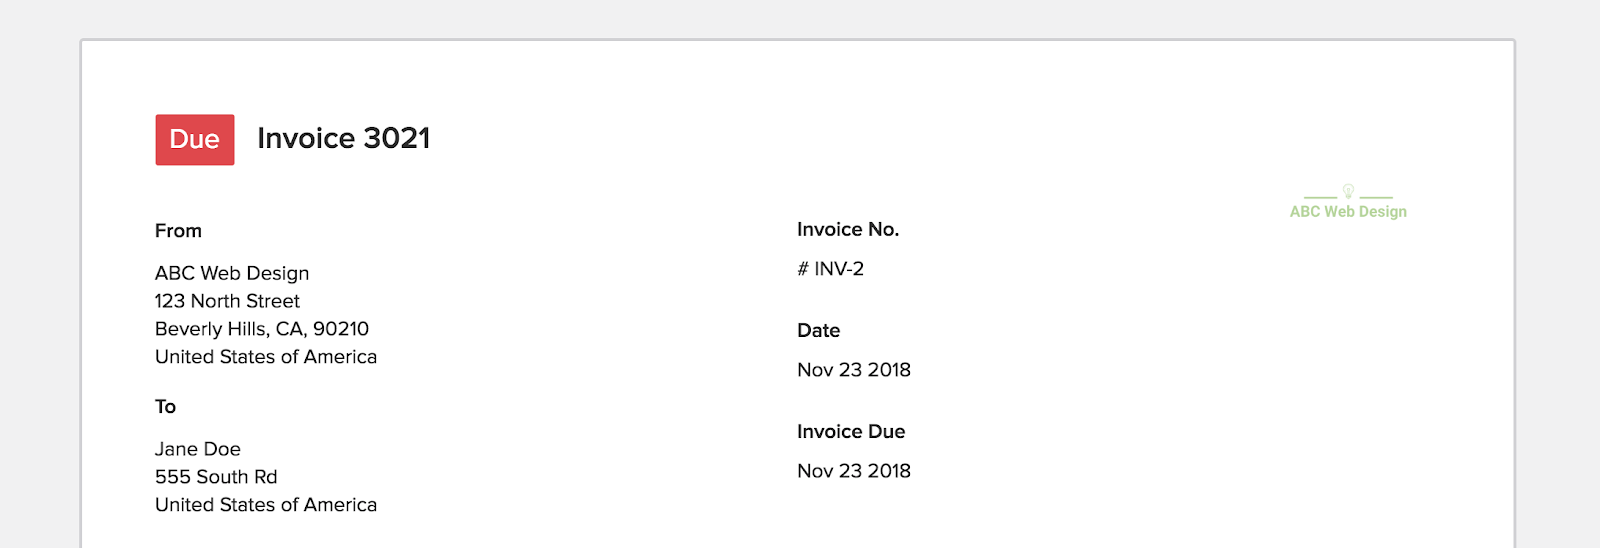
Be sure to include your name, address, email, phone number, and any other forms of contact you wish to offer.
Your Client’s Contact Details
It’s also a good practice to include the name and contact details of the customer you’re invoicing. This way, they know for sure the invoice is for them and not a mix up.
This will also help to identify which individual in their business the invoice is for. Again, if you’re freelancing for larger businesses, then having a contact name is key.
Normally, this is the person who contracted you. Or a specific person in the finance department referred to by your client.
It’s not uncommon for invoices to get lost so this will help ensure your invoice makes it to the right hands.
Create an Invoice Number
You want each invoice you create to be unique so they’re easier to track. By creating a unique invoice number, you can identify and track each bill you send.
In many cases, the invoice number starts with 1 or 001 and counts up. If you’re worried about the number getting too large, you can always go with a date and number combination like 2018-31-04-002.
Never just use the date because this will confuse invoices if you ever had to bill more than one client the same day.
Add the Date On Each Invoice
Your invoice should have two dates on it: the day you sent it and the day it’s due.
If there was no due date discussed, you can ask it to be paid upon receipt or do as many freelancers do and offer a time frame.
The most common is 15, 30, or 45 days from the date on the invoice. You can see other common payment terms here.
Clarify the Terms and Conditions
What forms of payment do you accept? What will happen if clients don’t pay you on time? While you should outline these terms in your initial contract, you can also reinforce them in your invoices.
If you haven’t thought much about it, then now’s a great time to start. You want to clarify whether you accept major credit cards only, payment platforms like PayPal, and whether you charge a late fee.
Again, it’s a good idea to discuss this prior to accepting a project from a client. This way, they aren’t surprised when they see the invoice, but are instead reminded.
Provide Detailed List of Services
What is it you’re requesting payment for? Every invoice should include a thorough list of services you provided to the customer.
An itemized list is the best way to go. This way, the customer knows exactly what they’re paying for. Include a description next to each service listed.
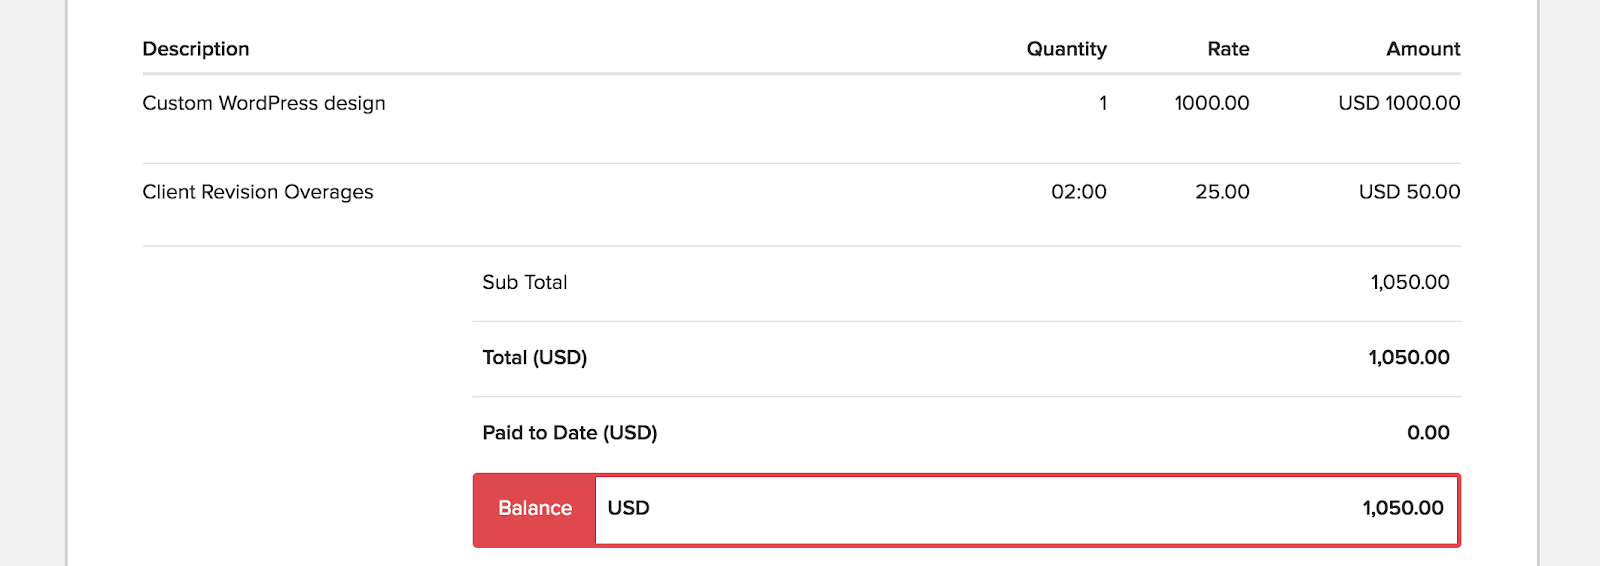
Ideally, you want to include your rate and quantity for each service. If you’re charging hourly, then put the rate and how many hours you worked on each project.
The same goes for project rates. Except in this case, you’re only providing the per-project rate, no unit.
Give each item its own area so it’s easier for the customer to read.
At the end of the list of items, include a subtotal. Bold or highlight this area so it’s easy to see.
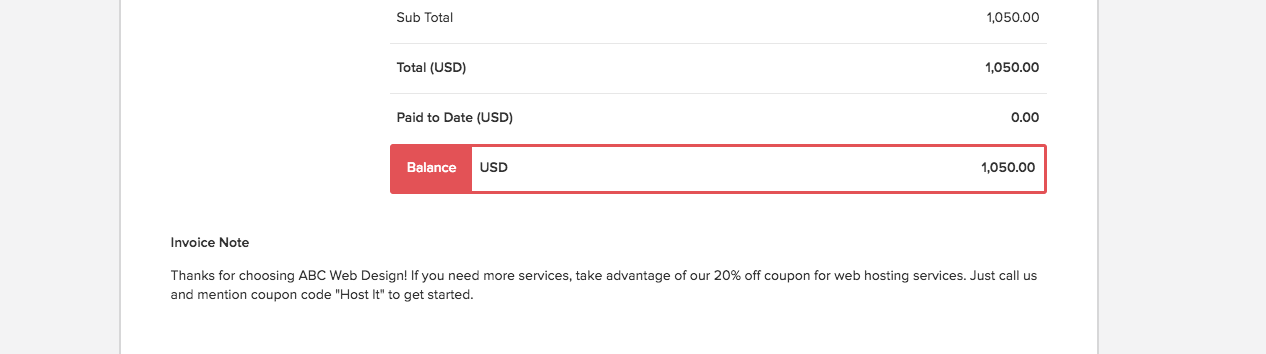
Use Marketing Tactics to Retain Customers
Your invoice is the last thing your clients see after hiring you to complete a project. Don’t let them walk away after paying your invoice without an incentive to return.
For example, you can include a special coupon for future services. You can include an expiration date to help encourage them to return soon. This works if you’re providing a service they need regularly.
Another option is to notify them of a current sale that’s happening for one or more of your services.
Cross-selling and up-selling are excellent options if you have customers who are recurring. This will help boost your revenue and the value offered to your clients.
Also, don’t forget to thank your customers for their business. You can leave this info in the notes section of your invoice.
Electronic Invoices Growing in Popularity
Each year, e-bills and e-invoices are growing by 10% to 20% and is expected to reach 30 billion globally. And why shouldn’t it?
Sending electronic invoices is simple, organized, and secure. Using a platform like invoicely allows you to quickly create professional invoices to send to your clientele.
You can upload your logo and input all of the contact details for your business and customers. With software, you’re able to easily keep track of which bills are pending and which have been paid.
You can also create recurring invoices and payment reminders to help ensure your bills are paid on time. And let’s not overlook the cost savings.
Compared to paper billing, you spend a whole lot less (for obvious reasons). There’s no paper or ink to buy or printers to maintain. Overall, it’s an eco-friendly method to invoicing.
Following Up After You Invoice
It’s not hard designing a professional invoice, especially when you have the right tools. But ensuring your clients pay on time is another story.
Following up with your clients as the invoice due date nears is a great way to freshen their memory about your pending invoice. You can send an email asking how things are going and to let you know if they need anything else.
Once you get a response, if there’s no mention of the invoice, you can reply with a friendly reminder. Try asking if they received the invoice or if there was any confusion regarding it.
Creating an Invoice for Your Freelance Projects
Now, you know how to write an invoice for freelance work. It’s time to begin creating your own. If you’re looking to save money and a headache, then invoicing software is the answer.
Go professional today by creating a freelancer invoice using these tips.